Top Strategies for Preparing and Repairing Concrete Floors for Long-Lasting Coatings
Many flooring projects fail before they start—because the concrete beneath isn’t properly prepared. Skipping key steps like concrete floor preparation and concrete repair leads to poor adhesion and coatings that peel or crack. In this post, you’ll get clear strategies to ready your floor for epoxy or polyaspartic floor coating that lasts. With BC Epoxy Depot’s expert tips and pro-grade materials, your project will stand up to daily wear and keep looking sharp. Learn more about concrete repair techniques here.
Preparing Concrete Floors for Coatings
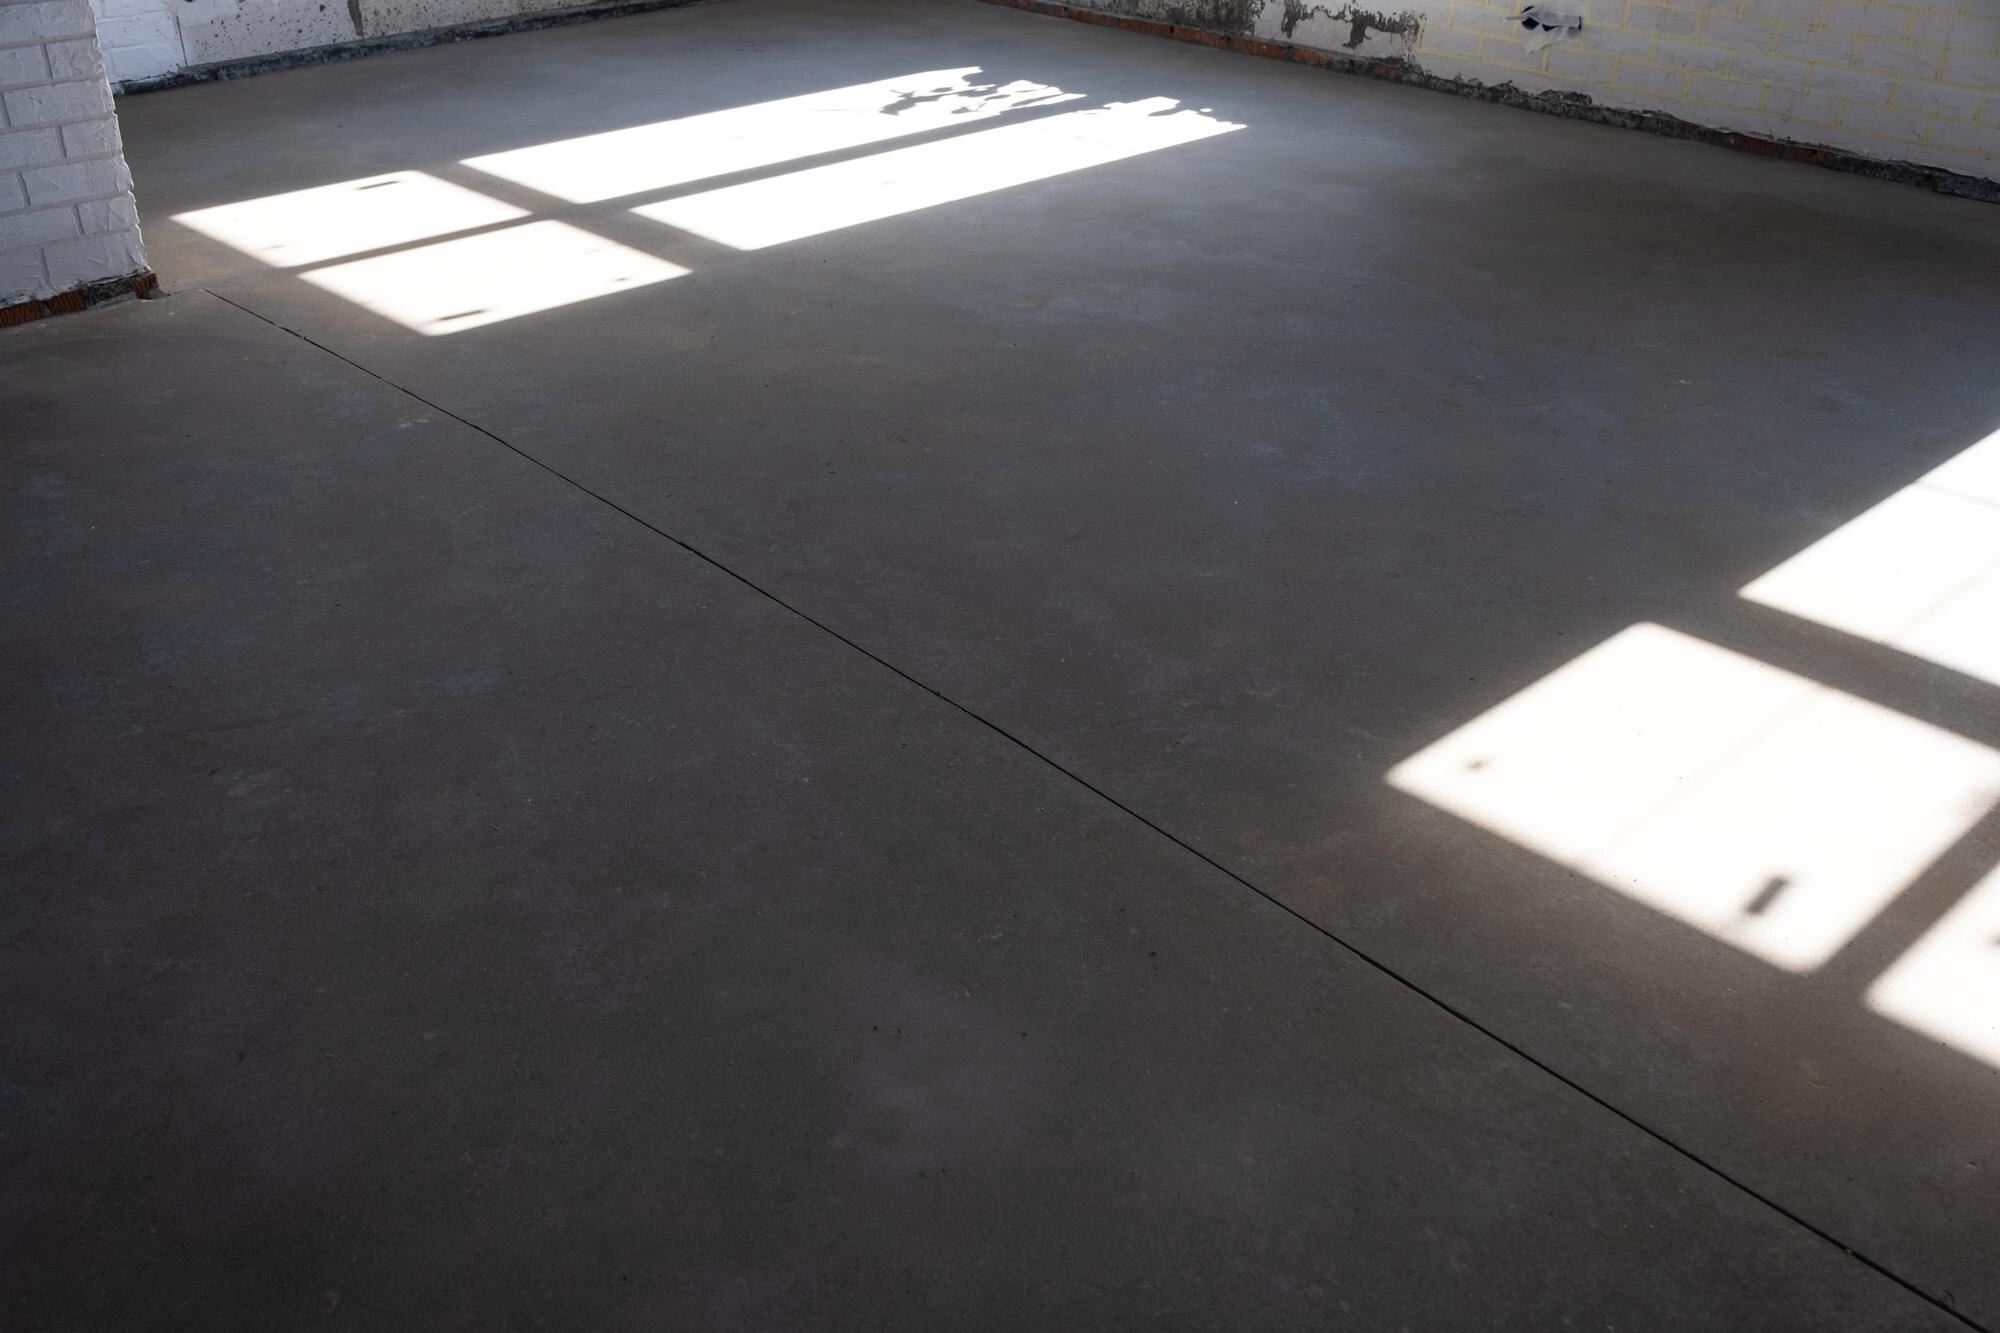
To achieve lasting results with your floor coatings, it all starts with proper preparation. Let’s dive into the important steps that set the stage for a durable finish.
Conducting Concrete Moisture Testing
Moisture lurking in your concrete can wreak havoc on coatings. Start by using a concrete moisture test to assess levels. Two common tests are the RH test and the calcium chloride test. They provide insights into how much moisture is present. Detecting excess moisture early helps you decide if you need a moisture vapor barrier. This barrier prevents future problems like bubbling or delamination. Remember, a simple test can save you from costly repairs down the line.
Achieving Proper Surface Profile CSP
Once moisture is managed, it’s time to create the right texture. A surface profile CSP ensures your coating sticks. Tools like diamond grinding and shot blasting help achieve the needed roughness. Think of this step as giving your floor a better grip on the coating. Without it, even the best products can fail. The goal is a surface that feels like medium-grit sandpaper. This might seem like extra work, but it’s essential for strong adhesion.
Effective Oil and Grease Removal
Oil and grease can sabotage your coating efforts. These pesky contaminants create a slick barrier that resists coatings. To tackle this, use strong degreasers. Apply, scrub, and rinse thoroughly. For stubborn spots, repeat as needed. Consider oil and grease removal a crucial step. Skipping it could mean peeling coatings and wasted effort. Your floor’s future beauty depends on this clean start.
Repairing Concrete for Optimal Adhesion
With a clean, prepared surface, the next step is addressing any existing damage. Proper repairs ensure your coating adheres and performs well over time.
Techniques for Crack Repair and Control Joint Fill
Cracks are more than an eyesore—they compromise coating integrity. Begin by opening up cracks with a chisel or grinder. Fill them with epoxy mortar for a solid fix. When dealing with control joints, use a flexible joint filler. This prevents cracking from future movement. Cracks might seem minor, but ignoring them risks larger problems. A smooth surface is key to a flawless coating application.
Addressing Spalling Repair
Spalling, where concrete flakes or chips, also needs attention. Remove loose bits and apply a high-strength repair mortar. This step restores the surface level. If left untreated, spalling can worsen, affecting both appearance and performance. A well-repaired surface resists wear and tear, extending your coating’s life. For more detailed guidance, check out this comprehensive guide.
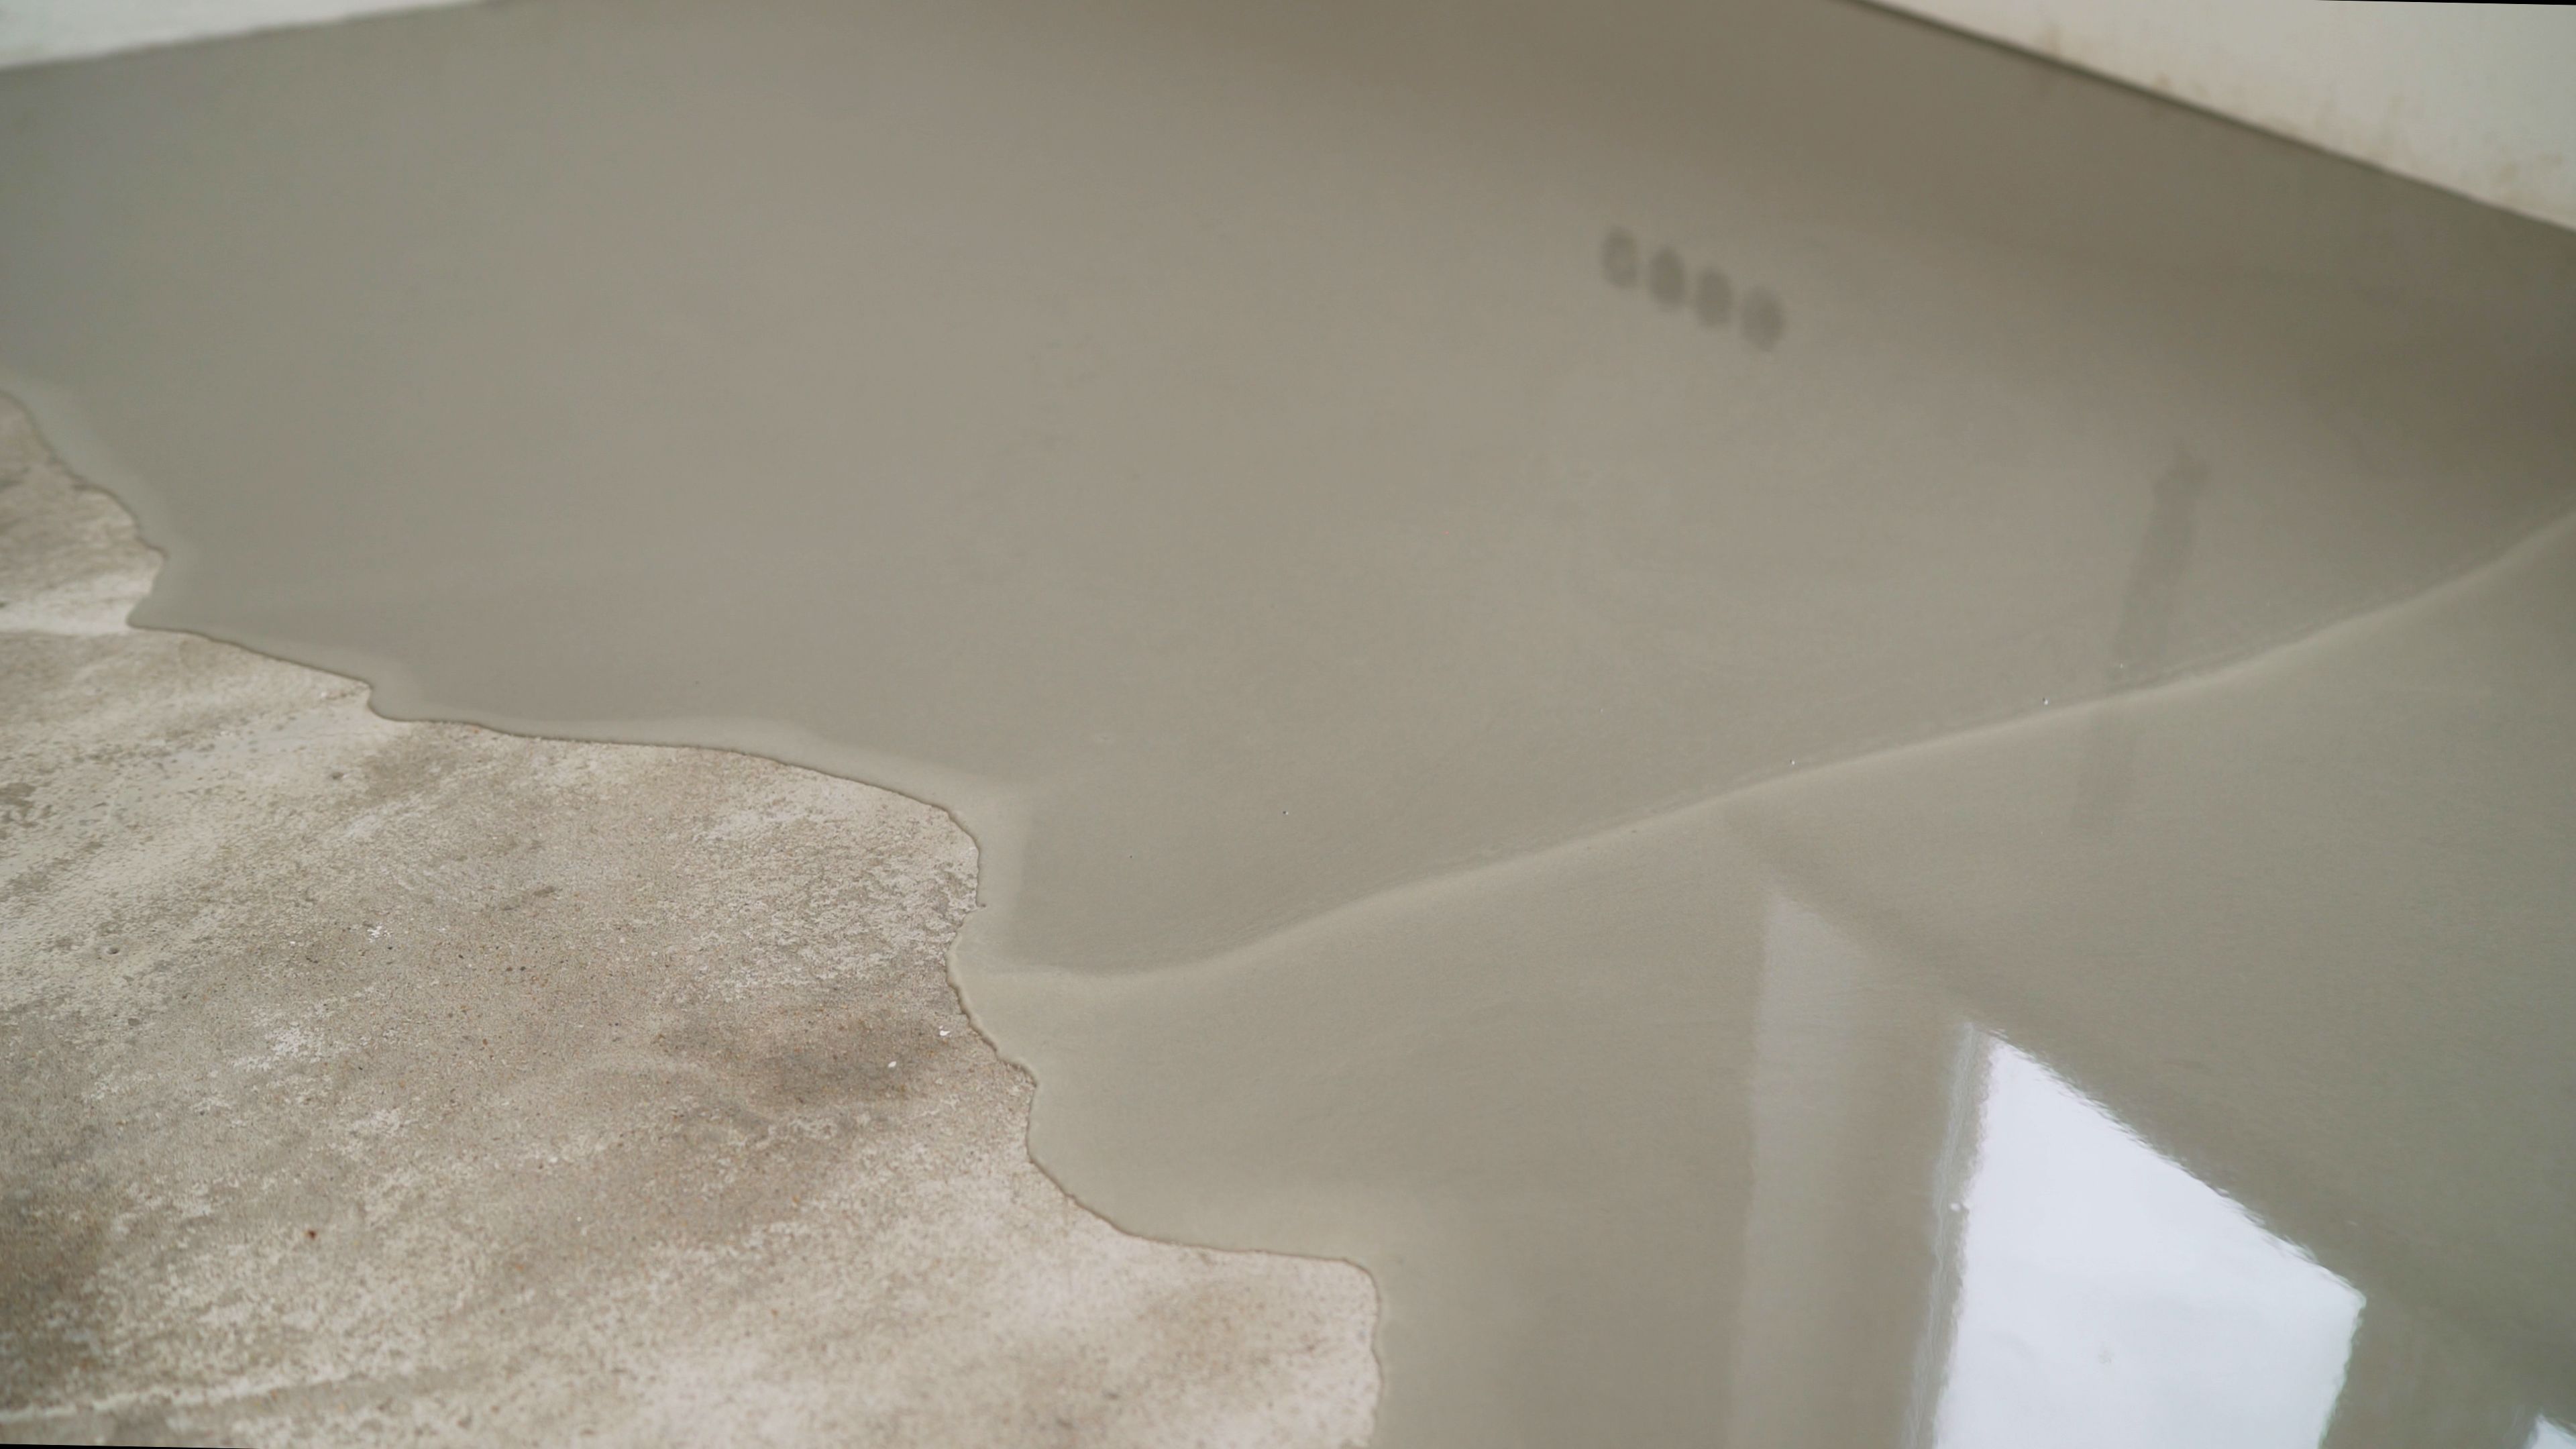
Using Epoxy Mortar and Self-Leveling Underlayment
For larger imperfections, epoxy mortar is your best friend. It fills and strengthens damaged areas. Follow up with a self-leveling underlayment for a smooth finish. This layer ensures even application of your topcoat. Skipping this can lead to uneven wear and premature failure. A level base is vital for a professional result. Remember, every step you take now saves time and money later.
Enhancing Durability with Coatings
Now that your concrete is prepped and repaired, it’s time to apply coatings that stand the test of time. These final steps will protect and beautify your floor.
Selecting the Right Epoxy Primer
Begin with a quality epoxy primer. It enhances adhesion and seals the surface. Choose a primer designed for your specific flooring type, whether it’s a garage floor epoxy or an industrial floor coating. A good primer lays the foundation for success, increasing lifespan and performance. Investing in the right primer can prevent future headaches.
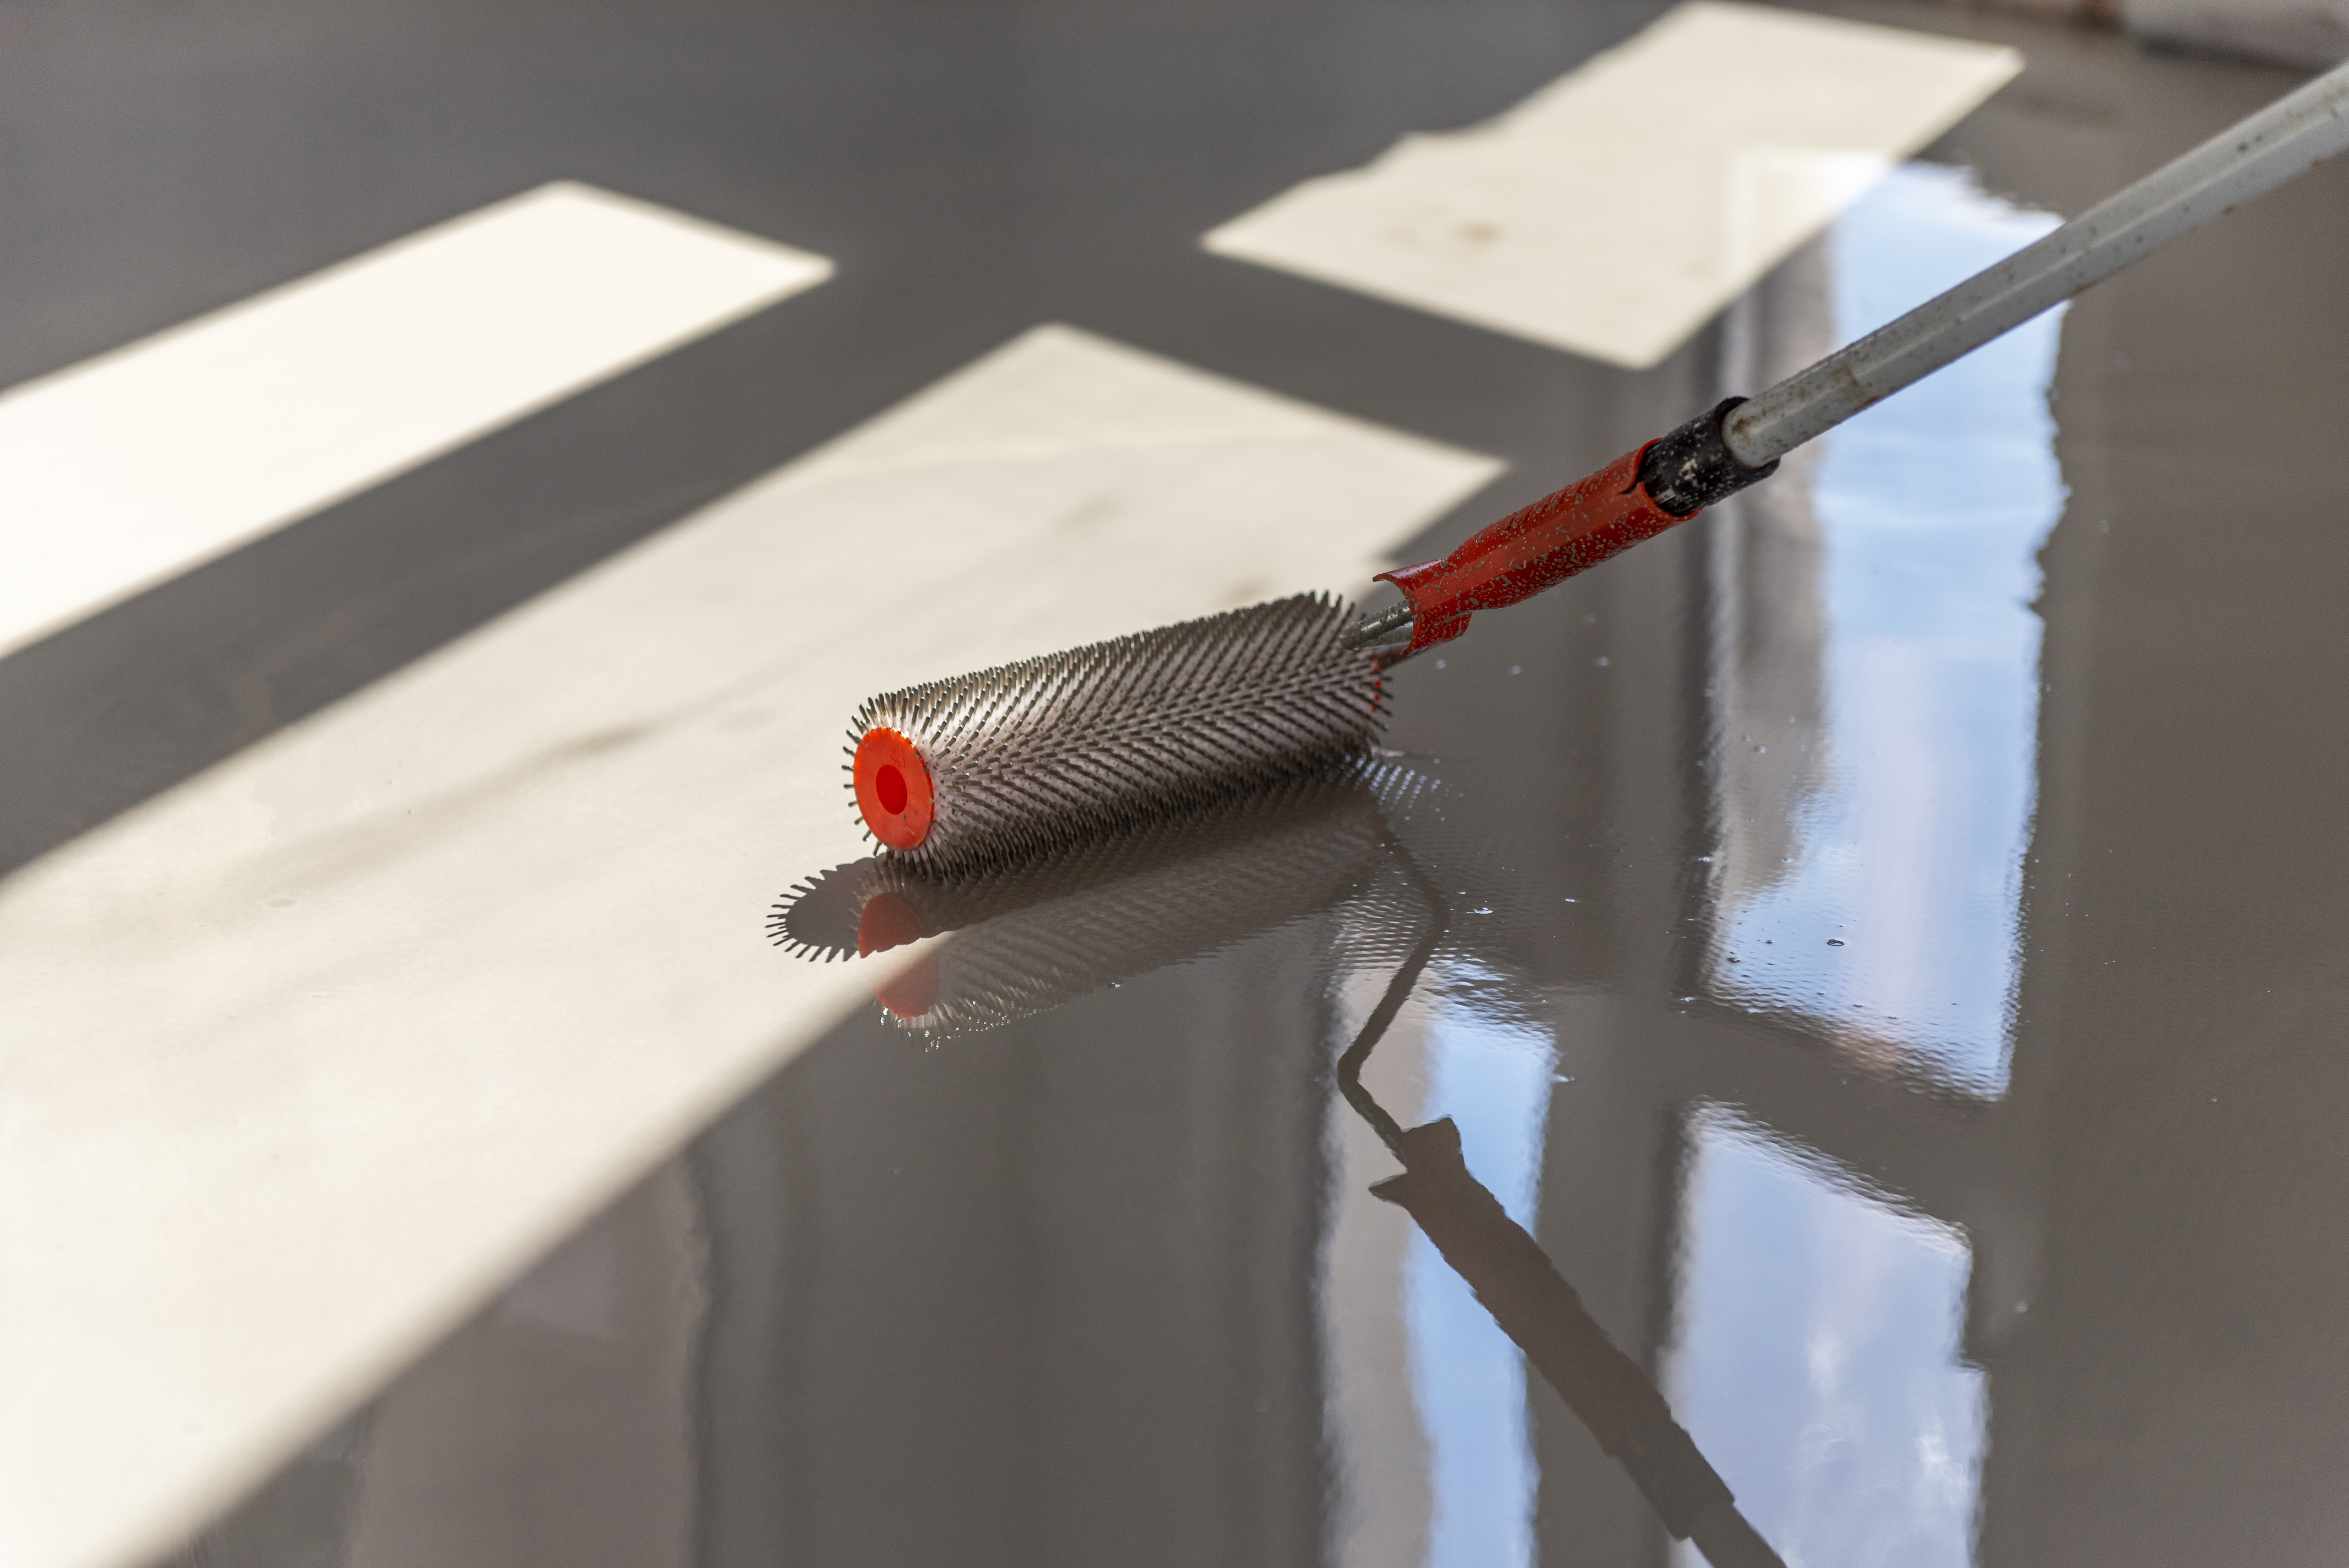
Applying Polyaspartic Floor Coating
The next layer is your polyaspartic floor coating. Known for fast curing and durability, it’s a favorite for high-traffic areas. Apply it consistently for a smooth, protective finish. Polyaspartic coatings withstand wear, making them ideal for busy spots like garages or workshops. The quick drying time means less downtime and faster results.
Incorporating UV-Stable Topcoat and Anti-Slip Additives
Finally, top it off with a UV-stable topcoat to resist fading. For safety, mix in anti-slip additives. These additions not only protect but also enhance usability. A topcoat shields against the elements, while anti-slip additives prevent accidents. This combination ensures your floor remains beautiful and functional over time.
By following these steps, your floors will not only look great but also last longer. Each layer and repair improves the resilience of your concrete, making your investment worthwhile. With BC Epoxy Depot’s products and these expert strategies, you’re set for success.